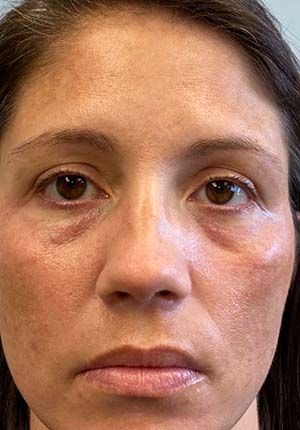
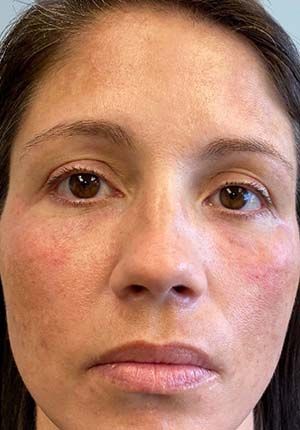
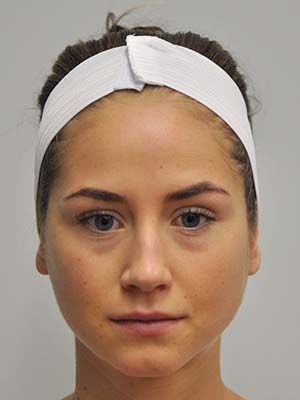
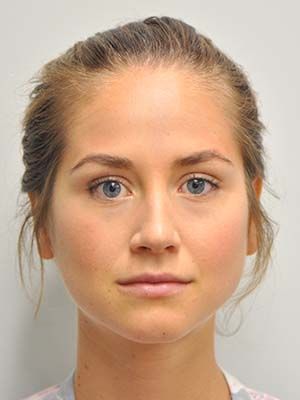
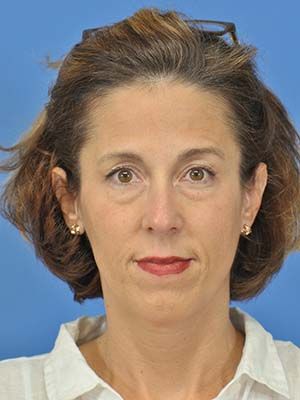
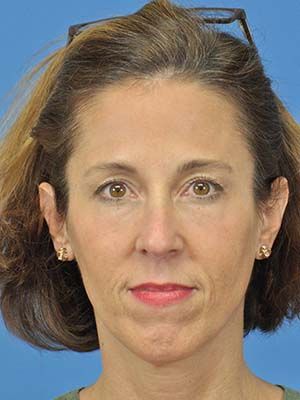
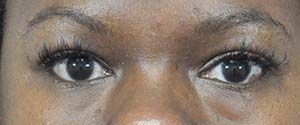
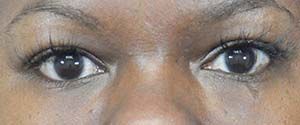
Filler Photos

Filler: Before & After

Patient 1

Individual results may vary. Click to enlarge.


Patient 2

Filler patient 1 before photoFiller patient 1 after photo

Individual results may vary. Click to enlarge.


Patient 3

Filler patient 2 before photoFiller patient 2 after photo

Individual results may vary. Click to enlarge.


Patient 4

Filler patient 3 before photoFiller patient 3 after photo

Individual results may vary. Click to enlarge.


Patient 5

Filler patient 4 before photoFiller patient 4 after photo

Individual results may vary. Click to enlarge.


Patient 6

Filler patient 5 before photoFiller patient 5 after photo

Individual results may vary. Click to enlarge.


Patient 7

Filler patient 6 before photoFiller patient 6 after photo

Individual results may vary. Click to enlarge.


Patient 8

Filler patient 7 before photoFiller patient 7 after photo

Individual results may vary. Click to enlarge.


Patient 9

Filler patient 8 before photoFiller patient 8 after photo

Individual results may vary. Click to enlarge.


Patient 10

Filler patient 9 before photoFiller patient 9 after photo

Individual results may vary. Click to enlarge.


Patient 11

Filler patient 10 before photoFiller patient 10 after photo

Individual results may vary. Click to enlarge.


Patient 12

Filler patient 11 before photoFiller patient 11 after photo

Individual results may vary. Click to enlarge.


Patient 13

Filler patient 12 before photoFiller patient 12 after photo

Individual results may vary. Click to enlarge.